A Narrative Guide to Drying Wood

This article will cover how to properly dry wood by yourself. In a professional way. I will work on finding another expert so I can make a video and add soon to this article as a video guide. (This is part of my effort to build the "Craftsman's Odyssey" section on this site.)
What characteristics do you know about wood?
That's the number one question we used to ask students who came to our woodshop classes. A not very common answer, but a great one, was that wood needs to be dried. I know, it seems obvious, but actually, if you are a novice, or even a semi-seasoned woodworker, the likelihood that you do not know how to properly dry wood is very high, based on my experience talking with other woodworkers.
There are some exceptions in woodworking where dealing with green wood is valid, but when it comes to furniture, drying your wood is paramount. Surely you can buy it dry from the shelf?—False. Unless it is already commercially dried, and even then, you still need to get yourself a moisture content (MC) meter to make sure it is actually "dry enough".
Let's clarify some terminology
Moisture content (MC): The weight of moisture in wood, typically expressed as a percentage of its oven-dried weight. This is why adjustments to the moisture meter are necessary depending on the type of wood.
Relative Humidity (RH): The ratio of the amount of moisture in the air to the maximum amount of moisture that the air can hold at a certain temperature.
And finally, our goal. ⛳
Equilibrium Moisture Content (EMC)🥳: Wood achieves a balance in moisture content, known as equilibrium moisture content, based on the relative humidity around it. The EMC represents the point at which the wood does not absorb or release moisture. As the relative humidity rises, so does the EMC, meaning the wood retains more moisture.
So how do you know if it's dried enough?
That's the million-dollar question and there is not a clear-cut answer. It really depends on some specifics, but now we know we are trying to achieve "EMC", that value is going to be affected or tweaked by :
- Your wood species
- The kind of specific piece you are building
- The relative humidity of where your project is being built
- The relative humidity of where it will be located once built.
- The finishing topcoat, or lack of one, you will use at the end.
Here is a general guide table for EMCs at different humidities for 30° to 90° F.
| RH % | 10 | 20 | 30 | 40 | 50 | 60 | 70 | 80 | 90 |
| EMC % | 2-3 | 4 | 6 | 7-8 | 9-10 | 10-11 | 12-13 | 15-16 | 20-21 |
All that water that is trapped, or soaking wet in some cases, will want to come out if the humidity in the air where the wood is located is lower than that of the wood itself. It wants to reach equilibrium.
Let's put some numbers on this: in the tropics, it is not unusual to have a Relative Humidity of 88% to 95%. As we say in the jungle, you can smell the water.
Some U.S. standards will tell you that wood in average needs to be around 6% to 8% moisture content. This would be catastrophic if you decide to build, let alone leave a piece of furniture without a top coat, with wood so dried. It will rehumidify itself, stabilizing with the air around it. What does this mean for you? Well, your glue-ups may break, boards may twist, doors may swell and not close, etc.
In my experience, in the tropics, we dry wood from 12% on the low end to 15% on the high end. Anything lower than 12% could go wrong, I emphasize could because there is more to the equation.
Air-Dry
Wood can be dried naturally by air, assuming the air in your area is drier than the wood. In the tropics, a board with 38% to 45% humidity will take forever to air-dry. The rule is one year per inch of thickness. I can almost bet you this will never work; in an area with +90% humidity, you may reach 28% or 32% if you are lucky.
If, on the other hand, you live in Arizona (USA), well, that's another story. You may encounter air humidity of RH 20% or below. Here, you would probably want your wood to be around 5% to 8%. Here, the one-inch-per-year rule will definitely apply.
What Other Methods Do We Have?
You can dry wood with a kiln, with heat, with hot air, with cold air. Anything that will dry a house T-shirt will dry your wood as well, it will just dry poorly if not managed correctly. Yes, even a kiln can be managed poorly.
The goal is to dry the wood as stress-free as possible, letting it release the stress between its wood fibers in the slowest way possible so that when it's brought to the place where the final piece will be located, there will be a nice equilibrium and the fibers won't be moving as much because the tension has been released.
Working with dried wood is far superior for our cuts, chiseling, and finishing. So, you still want the wood as dry as you can get it...wait for it...in relation to the final destination.
So I would not want to finish with a topcoat a piece that is at 28% humidity, nor would I want to be sanding it when it is at 35%. ( My numbers are just references, do your tests.)
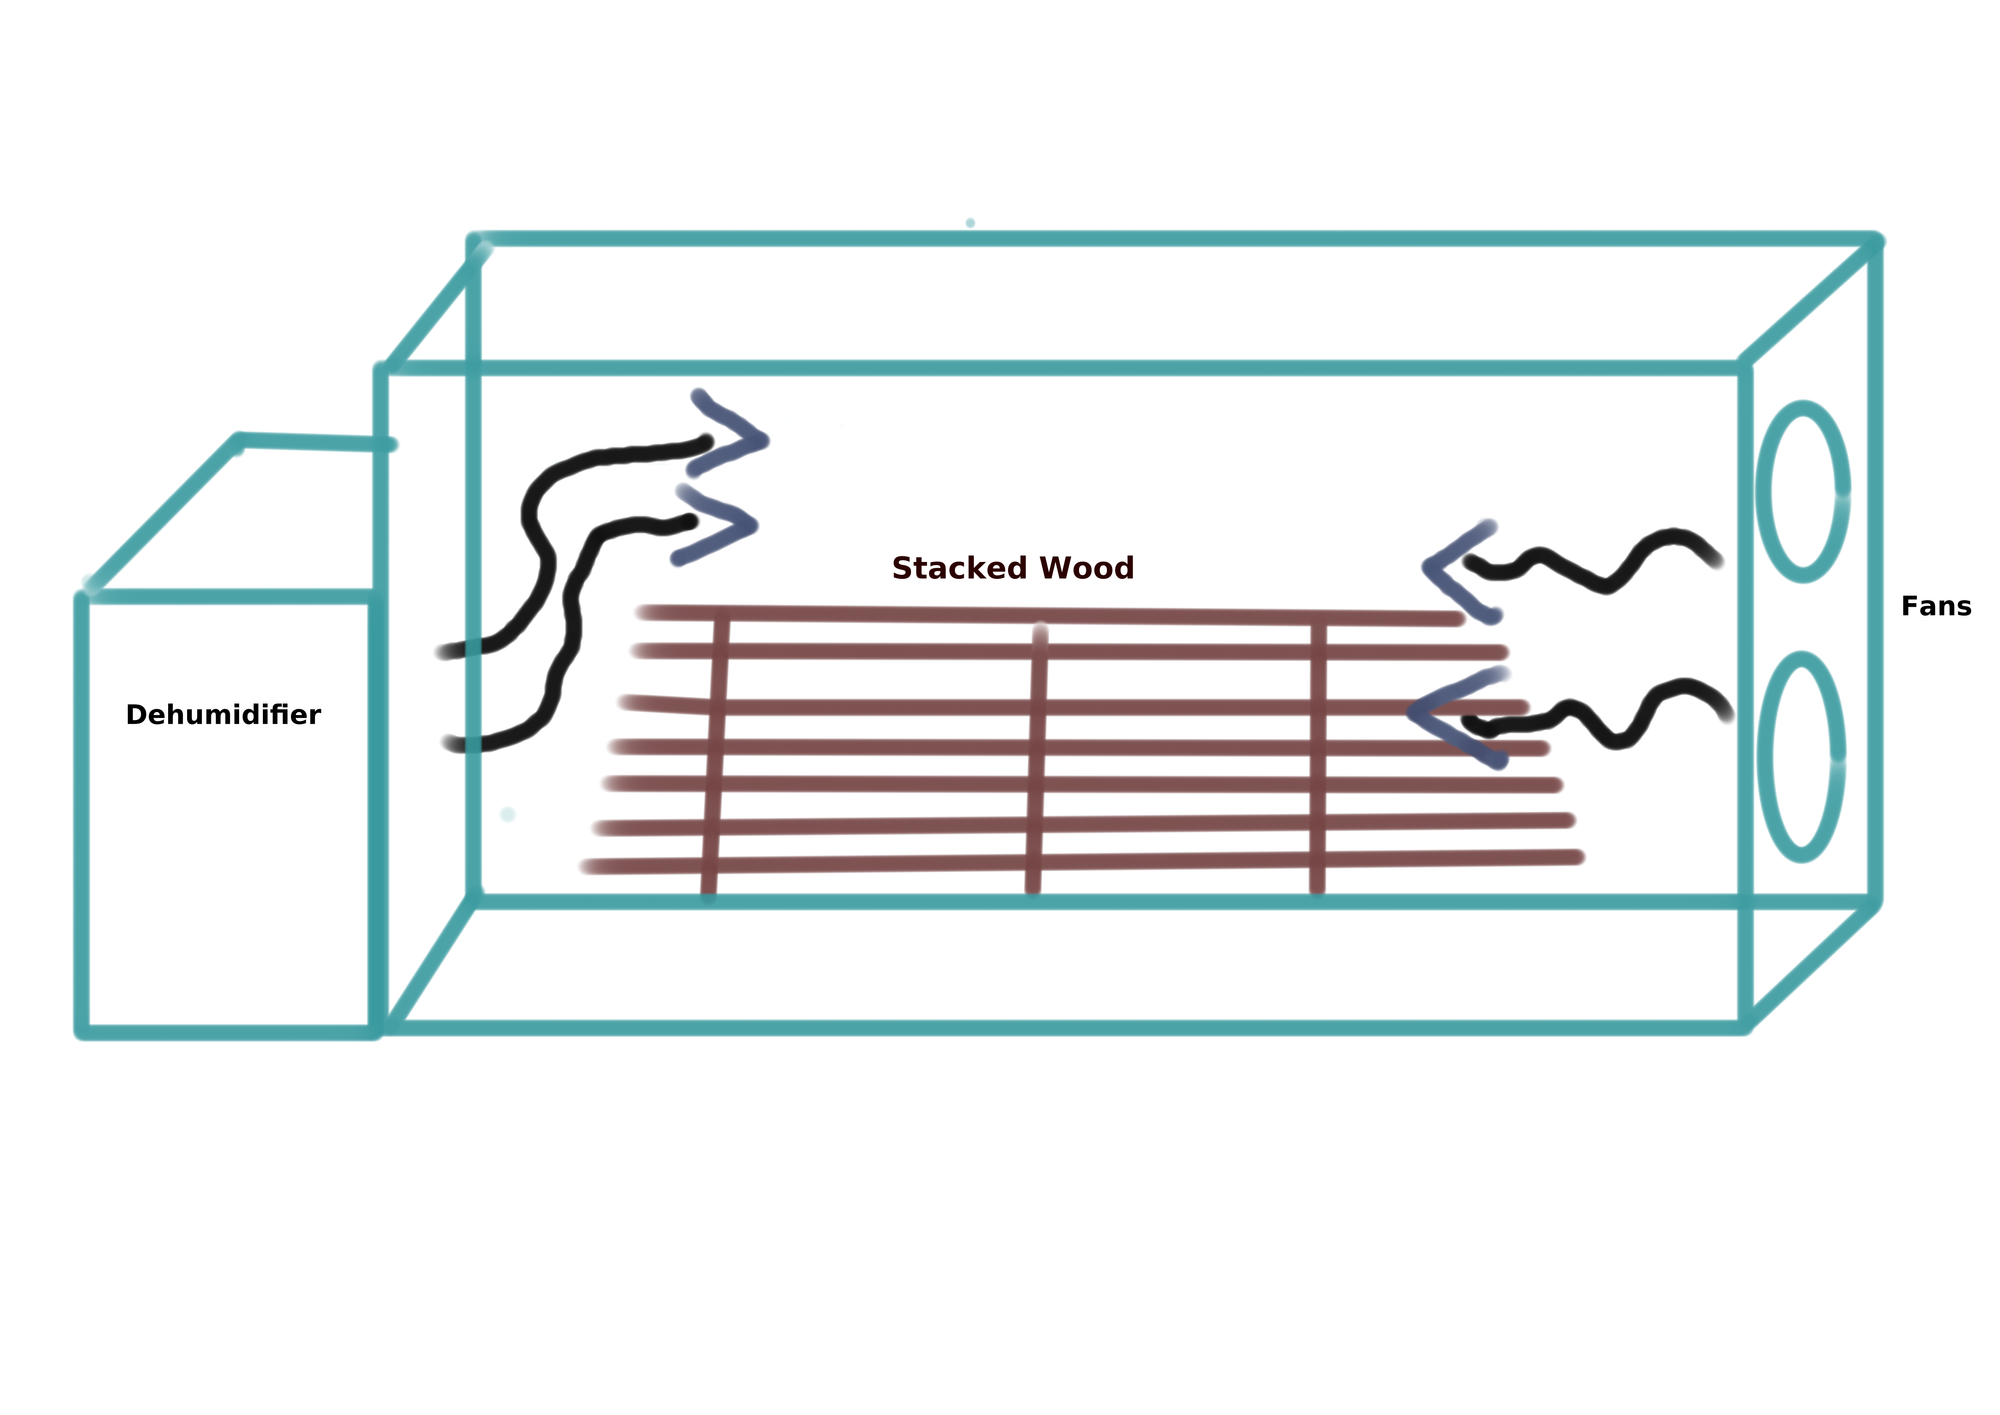
The Dry Room
You can achieve amazing, fast, and time-tested results drying with a simple method. I guarantee you can get started with likely as little as $50.
All you need is a simple recipe:
- A home dehumidifier (second-hand can go for $50)
- Closed Location
Now if you want to improve drastically then add the following:
- Recirculating fans
The space: For the space, it can be a closet, a bathroom (not ideal as there is water), a garage, etc. I will likely make a plywood box or choose an empty room. Make it as big as you need it, but the bigger the room, the more dehumidifiers you may need.
The dehumidifier: You need to set the dehumidifier in the room, ideally not close to any particular section of the wood. You want to dry the air in the room, not the wood itself; the dry air will dry the wood.
Set the dehumidifier to something along the lines of maybe 25% to 35%, depending on how wet your wood is. This is mainly to be able to control the speed at which you are drying.
You will have the dehumidifier(s) on one extreme of the room and then you will set the fans on the other extreme of the room.
Make sure to use some spacers, about 1 inch thick, to space the wood. Avoid using other wood pieces as spacers when possible, as you could stain the wood you want to use by oxidation.
Typically, we dry wood coming from the wood mill in about 4 to 6 weeks, and sometimes 6 to 12 weeks. The lower you can do it, the better, so you have less stress on your fibers.


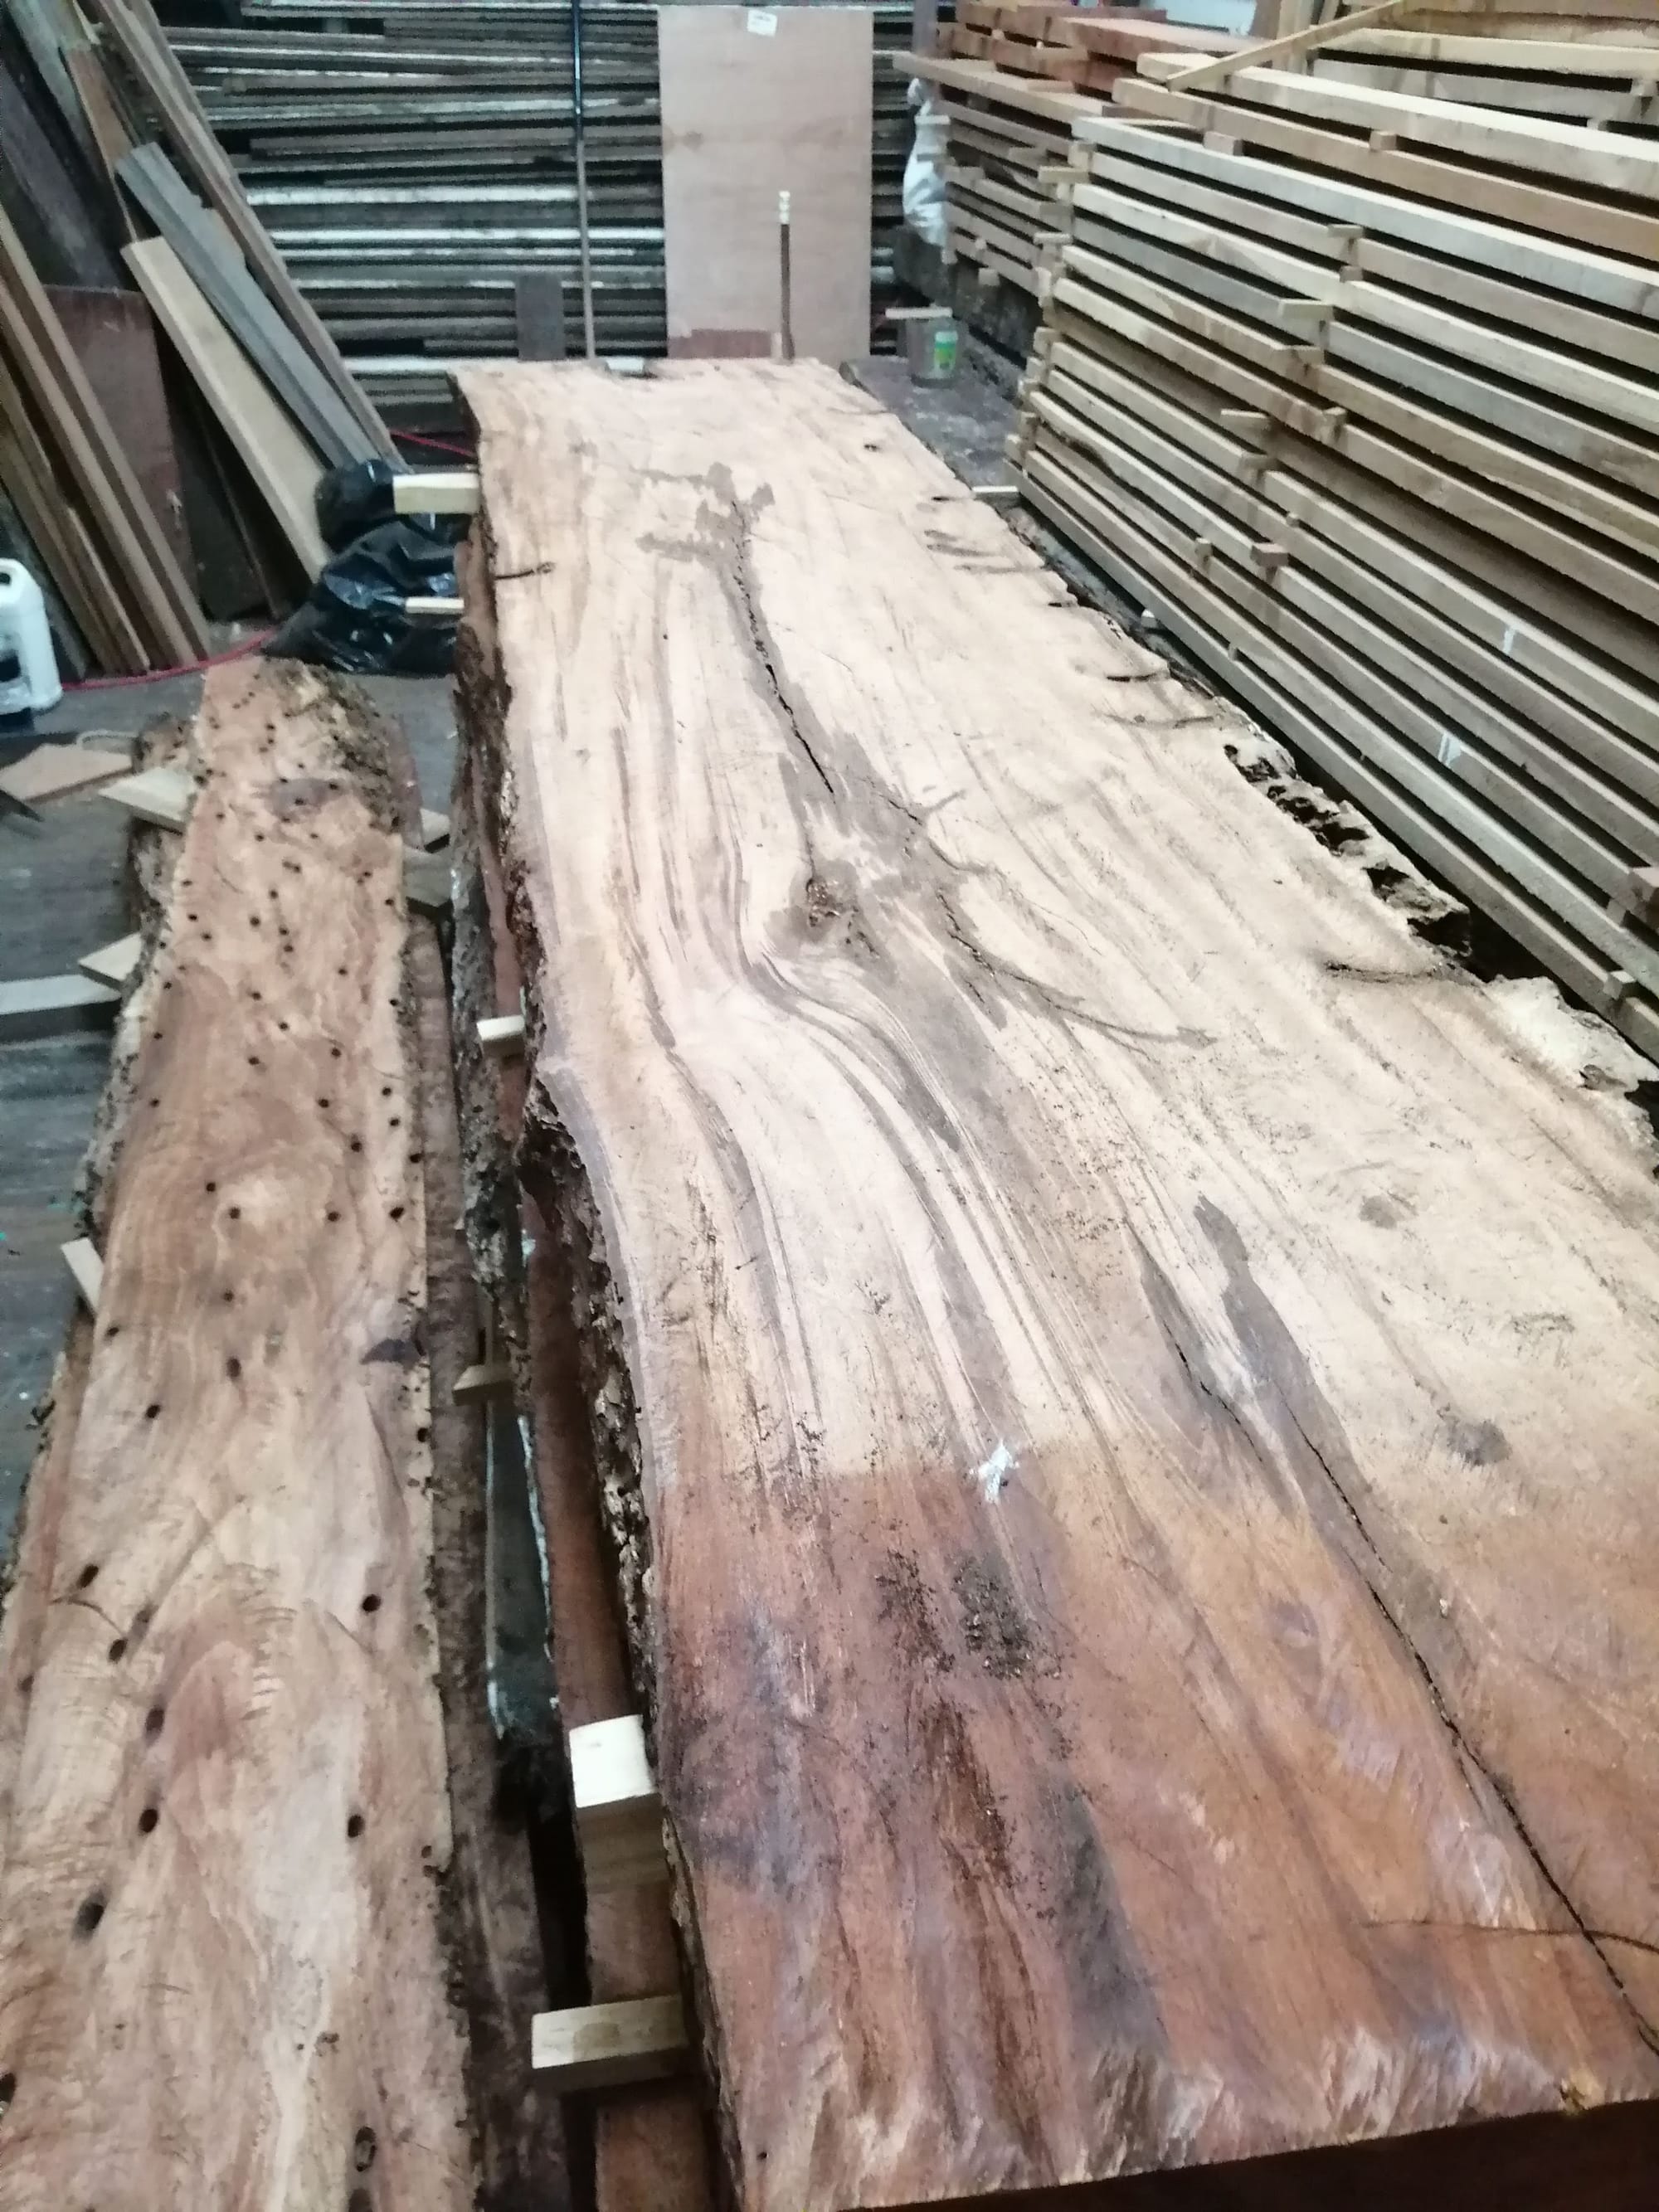
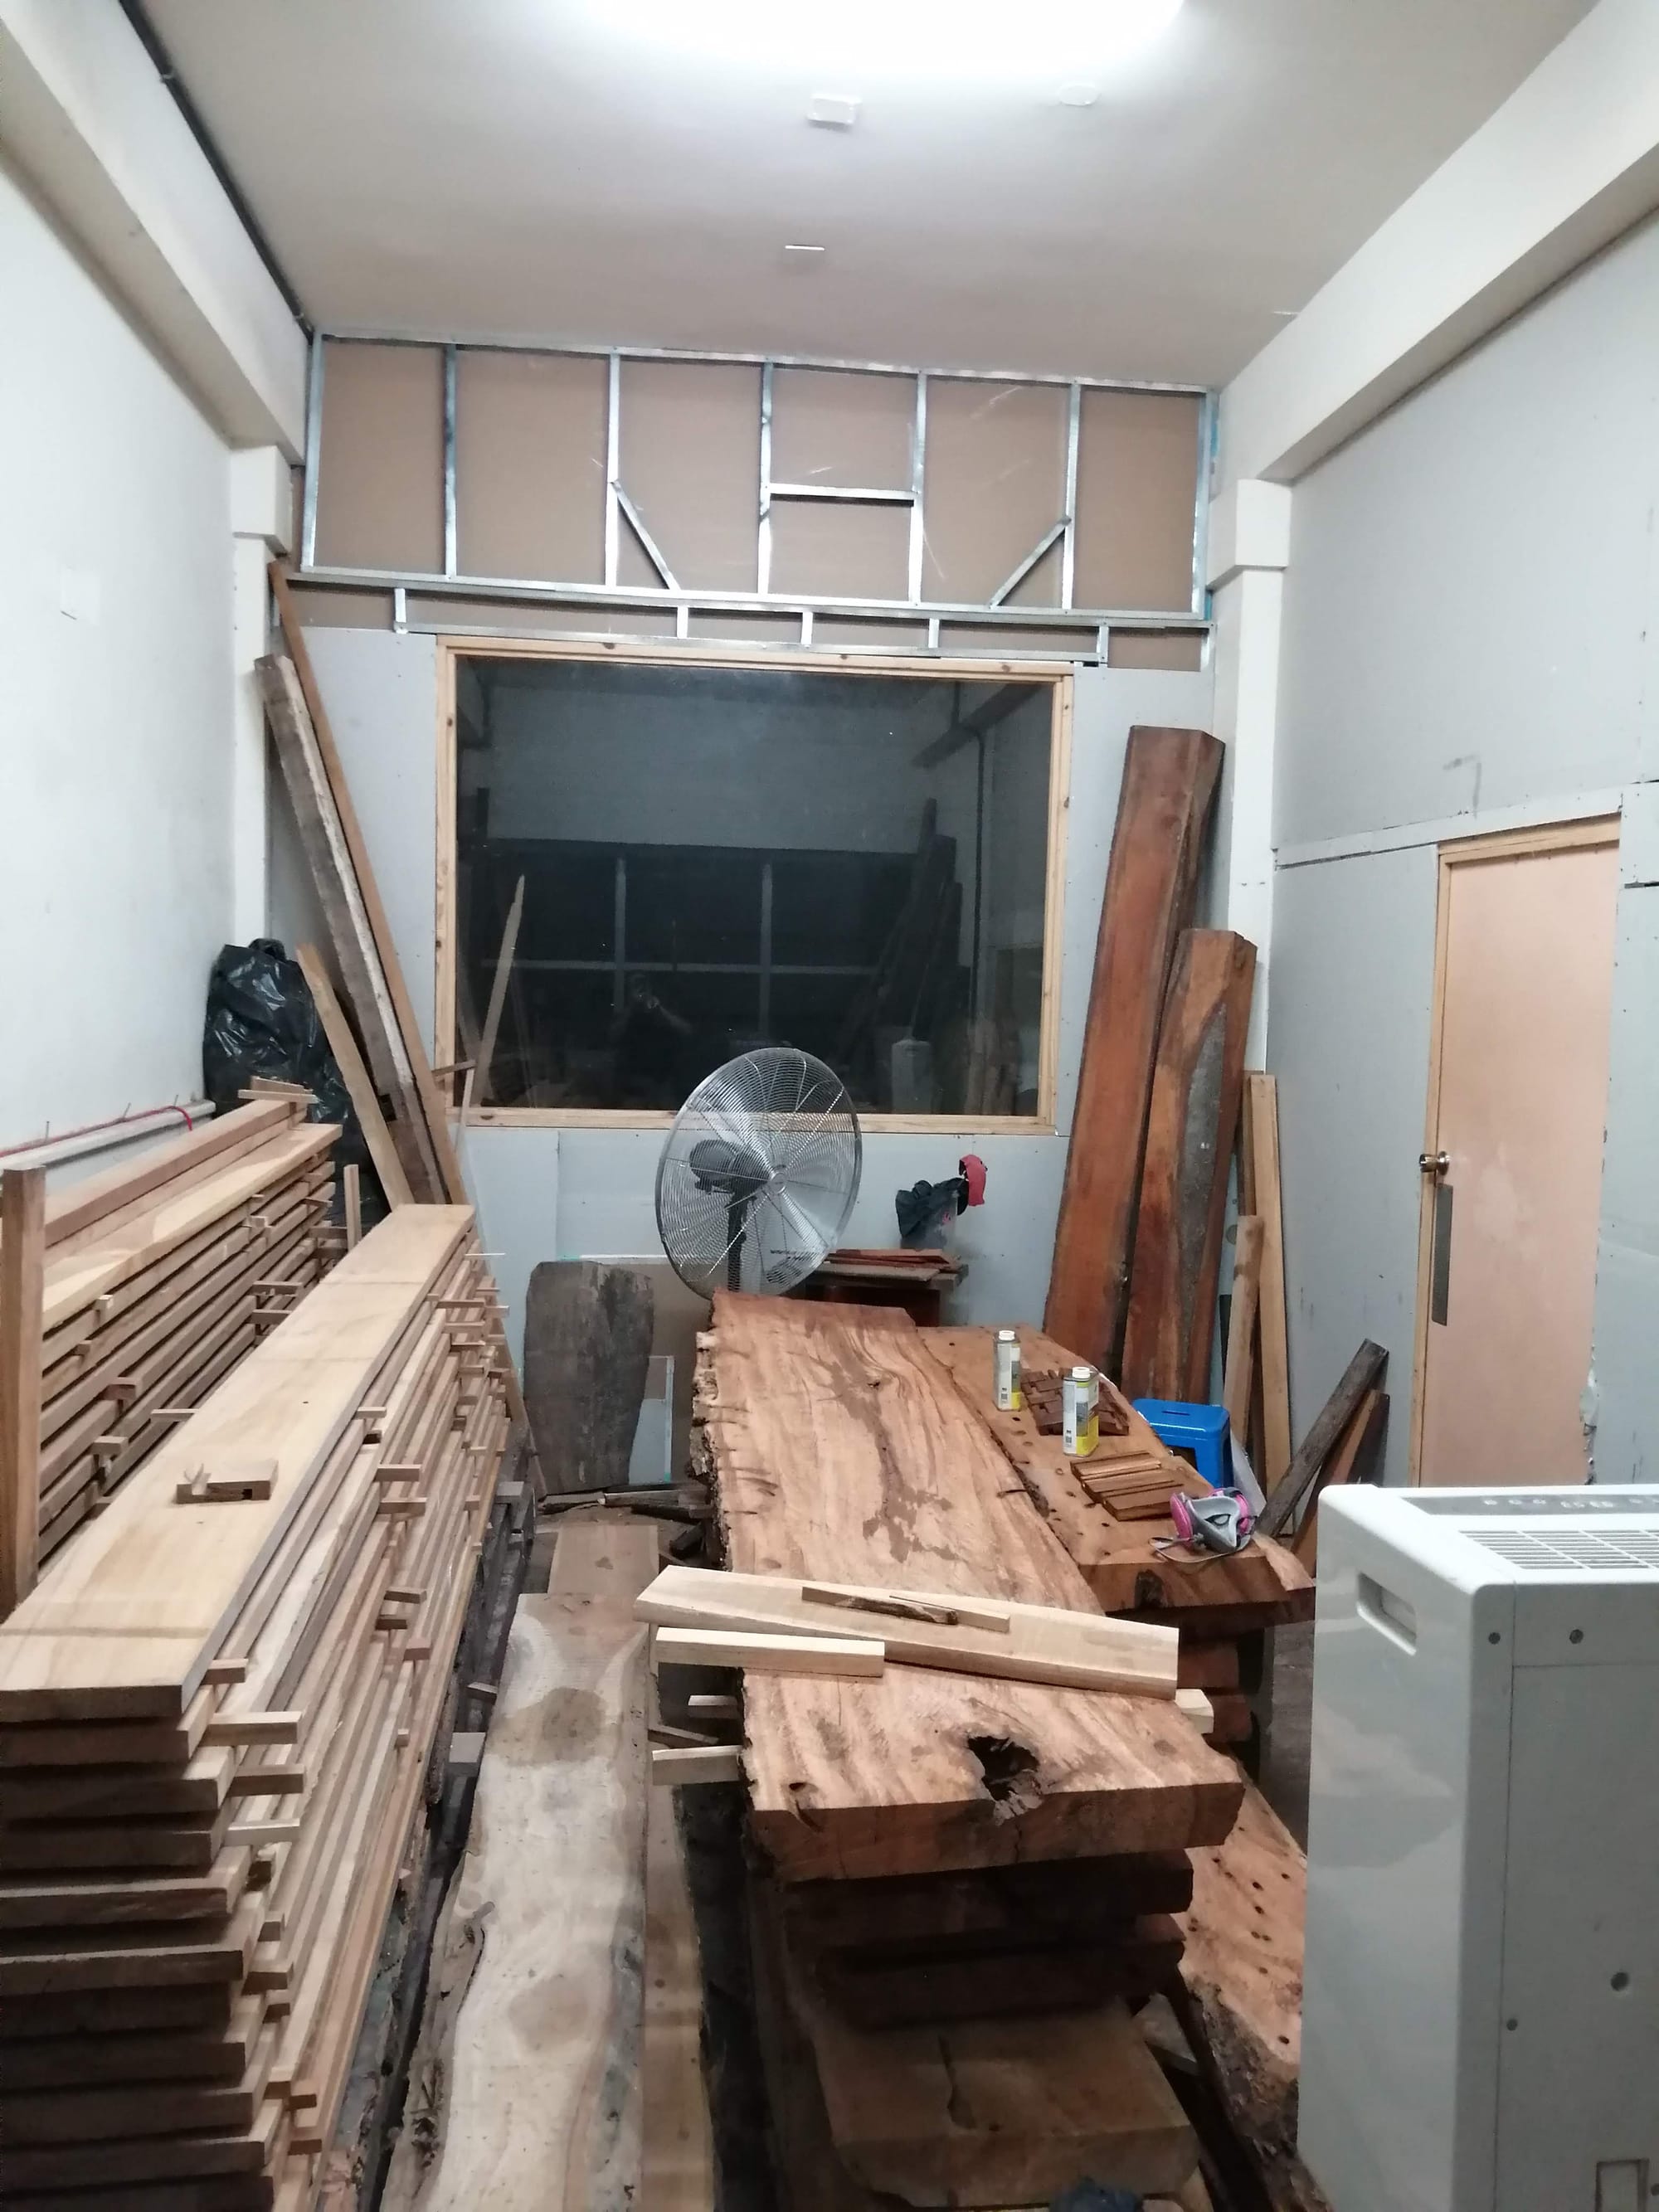
These are some pictures of our old dry room.
🧑🔬 No rocket science 🚀, but I guarantee you an amazing and professional-grade result. Whatever you do, just make sure you are working with properly dried wood in your projects, nothing is worse than finishing a project, doing it all correctly, and then noticing how it starts cracking or twisting because the wood was not dried properly.
Just as important, you need to seal with some sort of top coat or oil so you can protect the wood and help it to be in equilibrium. Remember, wood is an organic and dynamic material; it will move. You just want to be in as much control as you can, but you cannot avoid it. Will work on some basic guides on finishes.
Until the next one,
J